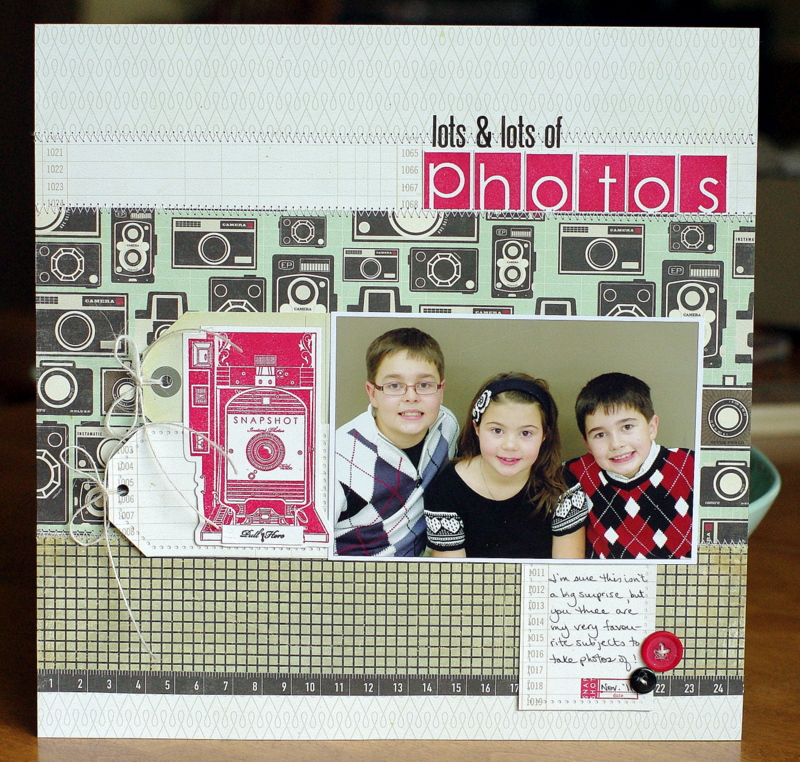
Well, this week has been a pretty busy one!
1. On Sunday afternoon, I took the kids to the MTS Centre in Winnipeg to see the Phineas & Ferb Live show. They'd never been to anything like it before and they all loved it!
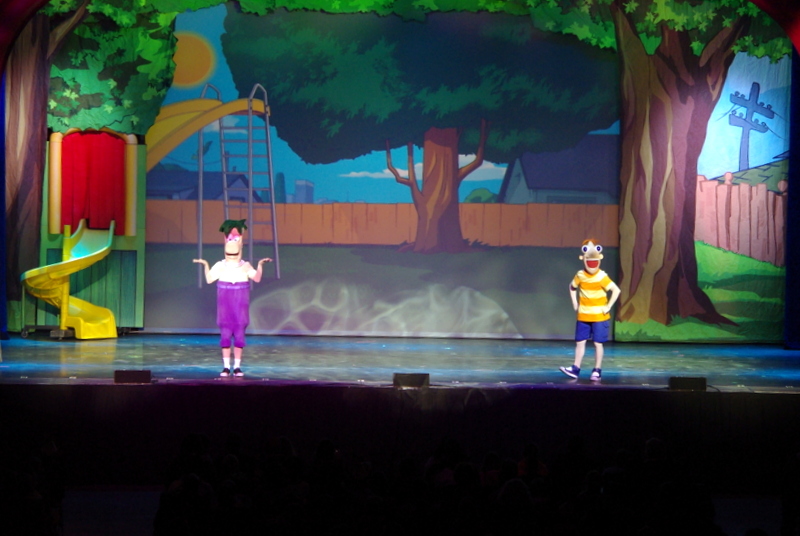
We had great seats and the kids just had such a blast-- this was a huge part of their Christmas gift this year, so I was super thrilled that they all had such a great time!
2. On Tuesday, I volunteered in Sage's class to help out with the garage sale the French Immersion Grade 3 & 4 classes put on every year (all of the proceeds go to Christmas Cheer). Sage and I were gift wrappers-- so fun to hang out with my best girl!
3. 'Tis the season for Christmas concerts! On Wednesday evening, Jonah & Austin sang with their choirs in the EMMS Band/Choir Concert. Austin's Jazz choir sang three songs (Austin is in the middle, first row in this photo):
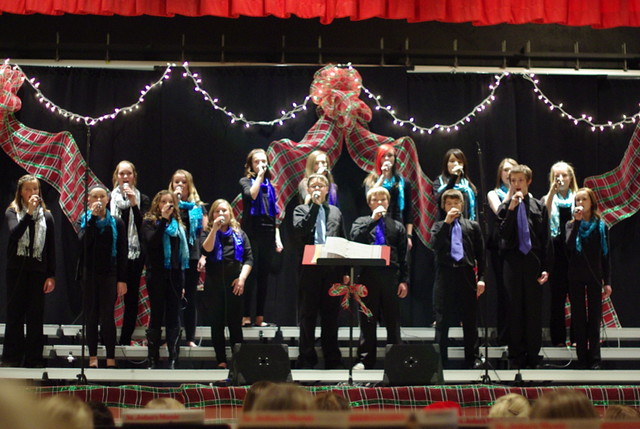
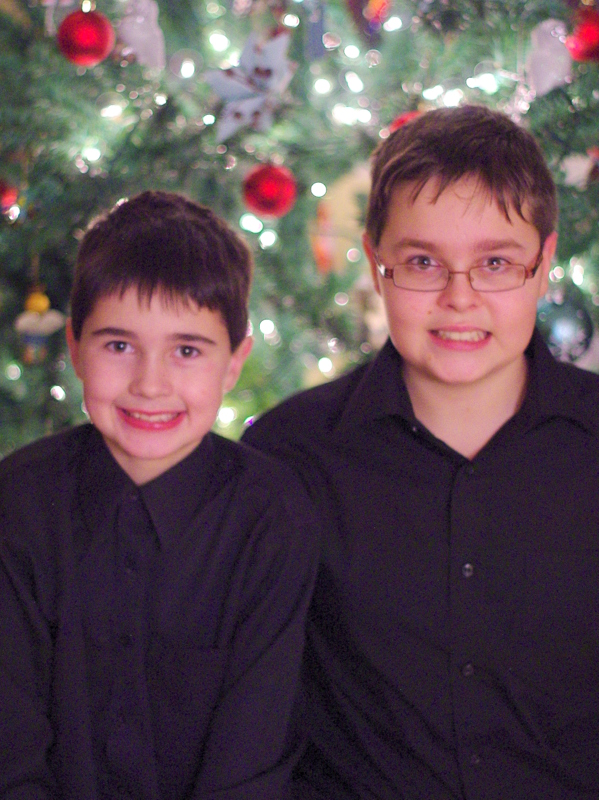
And Jonah's Noon Choir also sang three songs. They both did such a great job! I tried to get a photo of the two of them at the concert, but it didn't turn out, so I snapped this one when we got home, in front of our tree. The boys in black.... hee!
4. Then, last night was Sage's grade 3/4 Christmas concert. She did a wonderful job, as well! She's so keen and animated when she sings-- very fun to watch! I took this one before the concert. Don't her curls look pretty? I took her to get her hair cut after school and she got it done, complete with curls and glitter!

5. And, finally, something on the crafty side...
I made a card yesterday to accompany some treats I wanted to bring to our town library staff. I decided to use this week's Sketch Challenge at 2Peas:
I used some a 6x6 Crate Paper patterned paper pad that I bought last month-- such fun patterns-- as well as some Papertrey Ink cardstock (rustic cream), stamps (stylish sentiments:holiday) and dies (snowflake medley), buttons & twine.
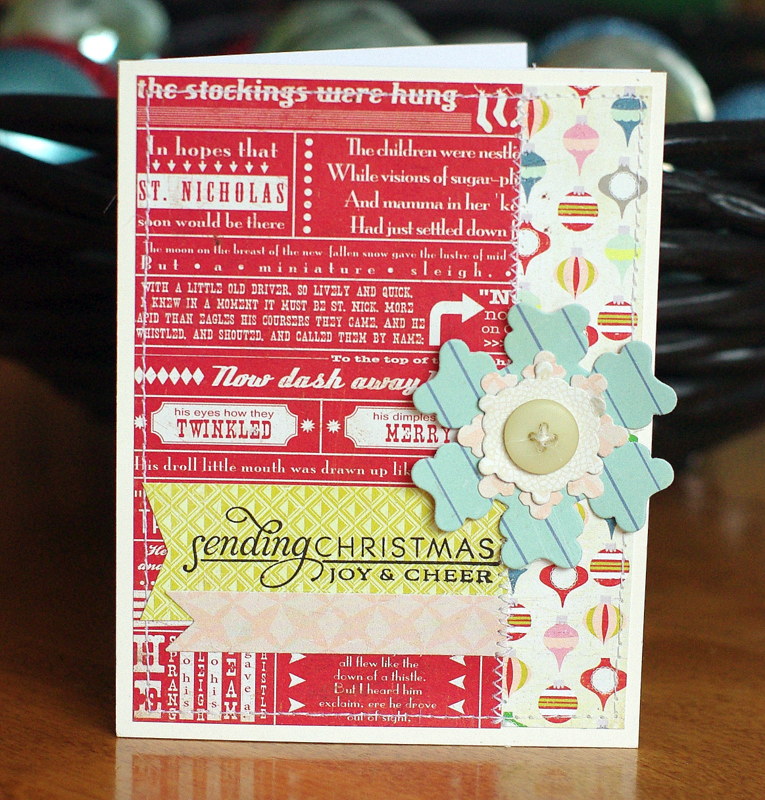
I'd originally put the snowflakes on my card following the sketch, but then, on a whim, I piled them one on top of the other and decided that I liked it better like this.
Thanks for looking!
Friday, December 14, 2012
Thursday, December 13, 2012
Exciting news
I've been asked to be a guest designer for Lily Bee Design for the month of December.
I have three projects posted on the Lily Bee Design blog today for their Holiday Inspiration theme. Here's a peek at one of them:
I would love it if you hopped over to the the Lily Bee Design blog to see what else I made.
Thanks for looking!
I have three projects posted on the Lily Bee Design blog today for their Holiday Inspiration theme. Here's a peek at one of them:
I would love it if you hopped over to the the Lily Bee Design blog to see what else I made.
Thanks for looking!
Wednesday, December 12, 2012
A WCMD reject
Sorry, I've been a little MIA the past couple of days. I've been working on a few projects for a guest DT spot (check back tomorrow for more info on that!) and, you know, getting ready for Christmas. ;)
I am getting to the end of my Christmas cards (I think I only have two or three left ot make), and then I need to start on tags.
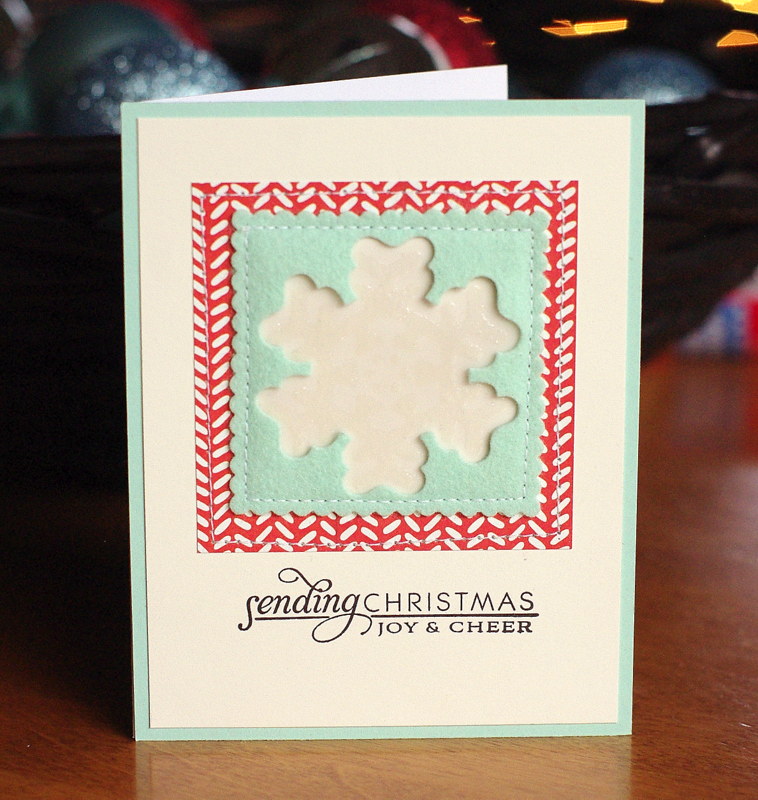
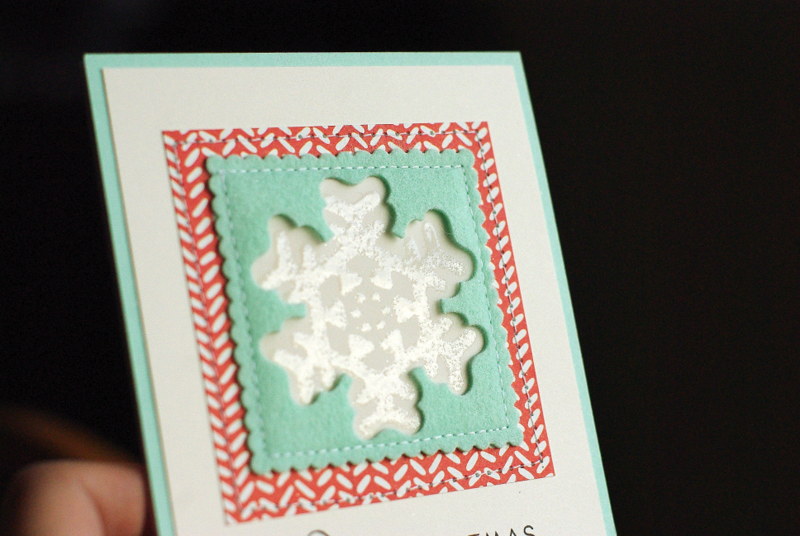
I have one Christmas card to share today, though. I actually made this one at the beginning of October for the Paper Craft World Card Making Day (WCMD) contest and mailed it to them. I'd mailed in six cards and this one is one of the five that wasn't chosen as a winner.
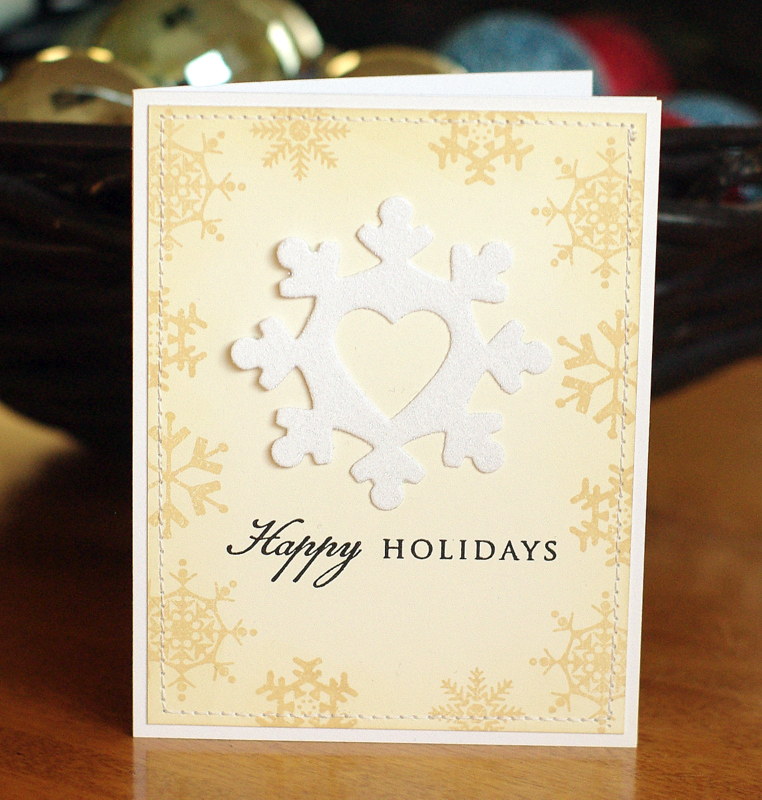
I used Papertrey Ink cardsock and felt, stamps (snowflake medley, wreath for all seasons), button, white and dies (Edger #3 dies, limitless layers squares, snowflake medley, damask snowflake.)
Thanks for looking!
I am getting to the end of my Christmas cards (I think I only have two or three left ot make), and then I need to start on tags.
I have one Christmas card to share today, though. I actually made this one at the beginning of October for the Paper Craft World Card Making Day (WCMD) contest and mailed it to them. I'd mailed in six cards and this one is one of the five that wasn't chosen as a winner.
I used Papertrey Ink cardsock and felt, stamps (snowflake medley, wreath for all seasons), button, white and dies (Edger #3 dies, limitless layers squares, snowflake medley, damask snowflake.)
Thanks for looking!
Sunday, December 09, 2012
My Wish List
What would you like for Christmas?
I'd be very happy to get some new stamps &/or scrapbooking supplies, the sweet wrought-iron bicycle that I saw in Winkler yesterday, maybe a pretty bowl for display, a new baking stone...
This month's challenge on the My Mind's Eye blog is to scrapbook your wishlist. And, although it might be fun to look back years from now on the gifts I wanted, I thought it might be more meaningful to my kids to scrapbook the things I really want for Christmas:
Love
Joy
Peace
That my kids would know incredible wonder at the thought of God becoming a baby & dwelling among us.
So, here's the layout I made:
I used My Mind's Eye patterned paper & decorative brads. I also used Papertrey Ink cardstock (smokey shadow, stamper's select white, aqua mist), stamps (Holiday Tags 2011, Love Joy Peace) and dies (double-ended banner, heart border, damask snowflake). The title and "wonder" were both cut on my Silhouette Portrait. The washi tape is We R Memory Keepers.
It's hard to tell in the photo, but I added some Smooch to the "Joy" stamp for this week's MIM at Papertrey Ink: Detail Glitter Technique.
Thanks for looking!
I'd be very happy to get some new stamps &/or scrapbooking supplies, the sweet wrought-iron bicycle that I saw in Winkler yesterday, maybe a pretty bowl for display, a new baking stone...
This month's challenge on the My Mind's Eye blog is to scrapbook your wishlist. And, although it might be fun to look back years from now on the gifts I wanted, I thought it might be more meaningful to my kids to scrapbook the things I really want for Christmas:
Love
Joy
Peace
That my kids would know incredible wonder at the thought of God becoming a baby & dwelling among us.
So, here's the layout I made:
I used My Mind's Eye patterned paper & decorative brads. I also used Papertrey Ink cardstock (smokey shadow, stamper's select white, aqua mist), stamps (Holiday Tags 2011, Love Joy Peace) and dies (double-ended banner, heart border, damask snowflake). The title and "wonder" were both cut on my Silhouette Portrait. The washi tape is We R Memory Keepers.
It's hard to tell in the photo, but I added some Smooch to the "Joy" stamp for this week's MIM at Papertrey Ink: Detail Glitter Technique.
Thanks for looking!
Saturday, December 08, 2012
Some cards for some challenges
I wanted to share a couple of Christmas cards that I made for several challenges this week...
First up is the card that I made for the Tuesday Trigger at Moxie Fab World: Shimer & Shine. Here's the inspiration photo:
And here's the card that I was inspired to make, using this week's MIM at Papertrey Ink: Detail Glitter Technique.
I used Papertrey Ink cardstock (stamper's select white, vintage cream), stamps (snowflake medley, wreath for all seasons) and dies (snowflake medley, heart prints.) I covered my white cardstock with an adhesive sheet before running it through my Big Shot. Then I peeled off the adhesive backing and covered it with Martha Steward Glitter.
Next up is the card that I made for the 10 minute craft draft, where the challenge was to make a card in less than 10 minutes and feature the colour red.
I was inspired by this card that Laurie had made for the challenge, so I knew where I was going with my card before I started. I was also allowed to get out my supplies first, which was helpful.
Here's my card:
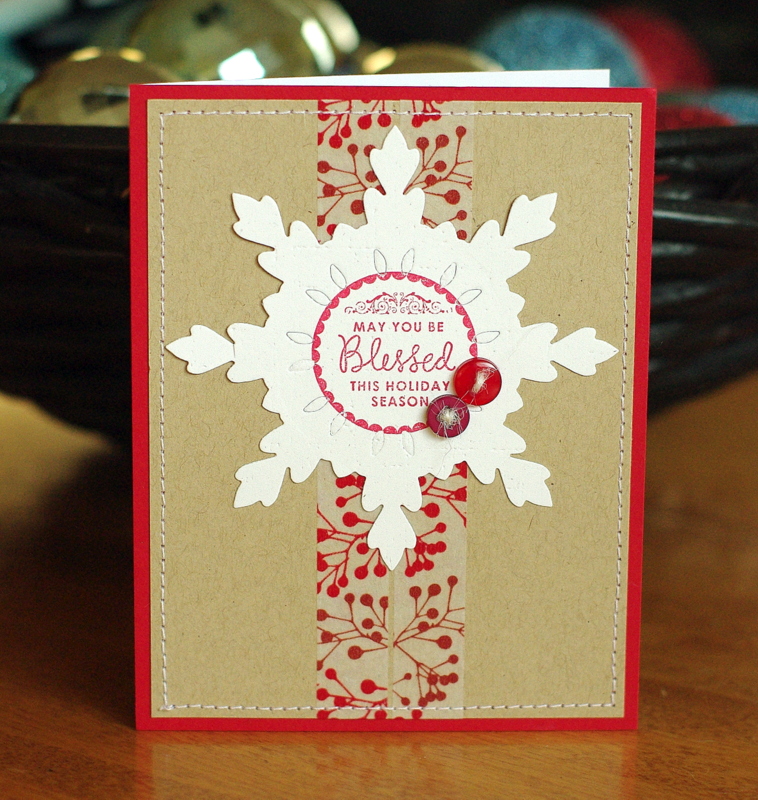
I wanted to diecut my snowflake but only impress the inside of it, because I knew I wanted to add the stamped sentiment to the front. I tried using a piece of fun foam on my die, but this didn't work the first time, so it slowed me up a little. Also, the fun foam left and impression on the diecut, so I decided to run the whole thing through my Big Shot with my PTI linen & canvas impression plate to hide that.
I used PTI cardstock (rustic white, kraft, pure poppy), die (damask snowflake), buttons and twine. I also used some new We R Memory Keepers washi tape on the front. The stamped circle and sentiment are Simon Says Stamp.
Here was my time:
I have to admit though, that this was my time when I completed the card.... without sewing the buttons on. I was going to leave them just adhered to the card, without the twine stitching them in place... but I want to mail this card and thought of how disappointed I'd be to find out that the buttons had fallen off. So, I stitched them in place afterwards. I hope this is okay.
Thanks for looking!
Labels:
10 minute craft dash,
cards,
moxie fab,
Papertrey Ink MIM
Friday, December 07, 2012
Five for Friday
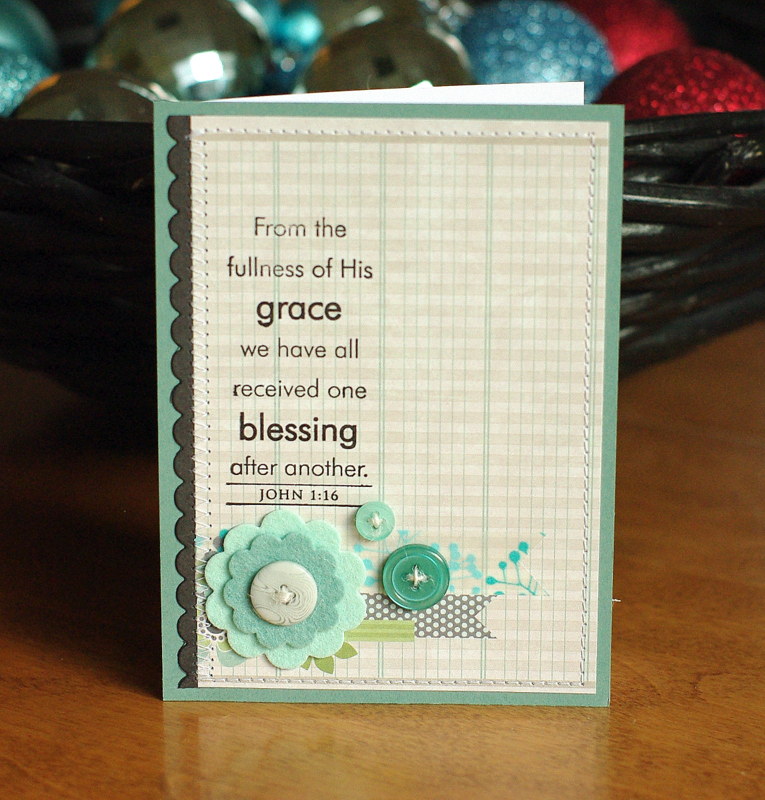
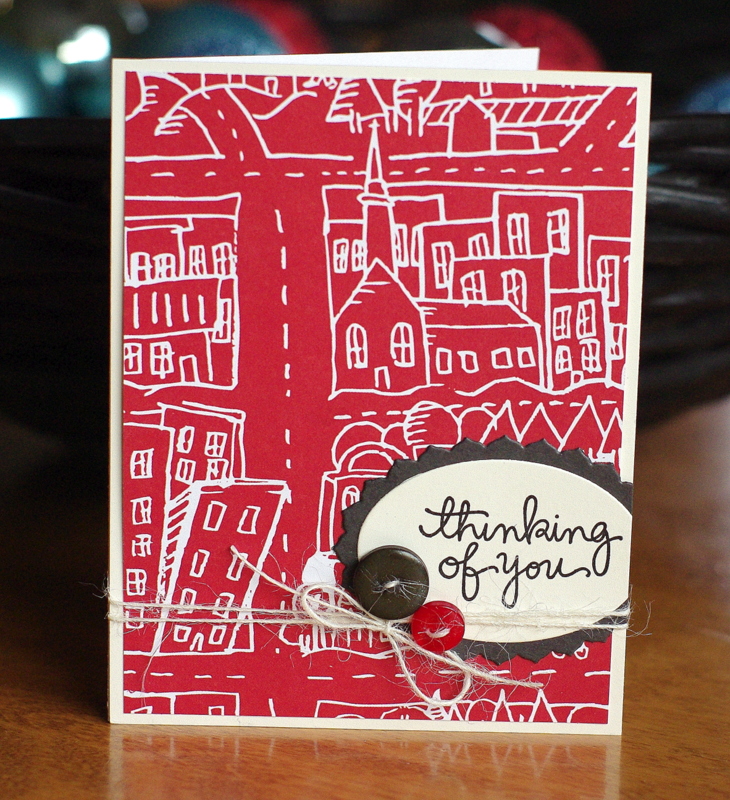
On Wednesday, I stopped at my my LSS and picked up this sheet of patterned paper. I don't often know exactly how I will use a piece of patterned paper when I buy it, but I loved the little journaling cards and thought they'd make a great background for a card, using my new PTI Button Boutique stamp set.
So, I bought the paper (among a few, ahem, other things), and when I got home, I trimmed out the journaling cards for my card front.... but for some reason, got inspired to make other cards with the rest of the sheet...and ended up making five cards in total.
So, today's five for Friday is the five cards I made with one sheet of We R Memory Keeper's patterned paper...
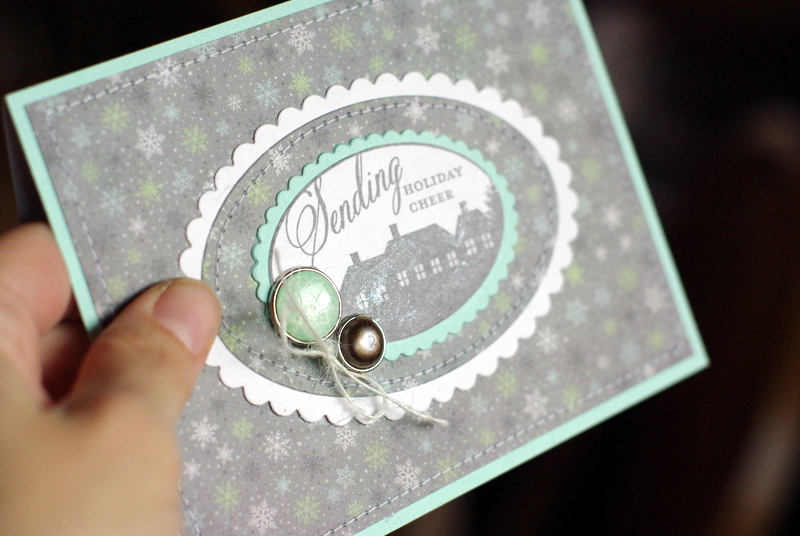
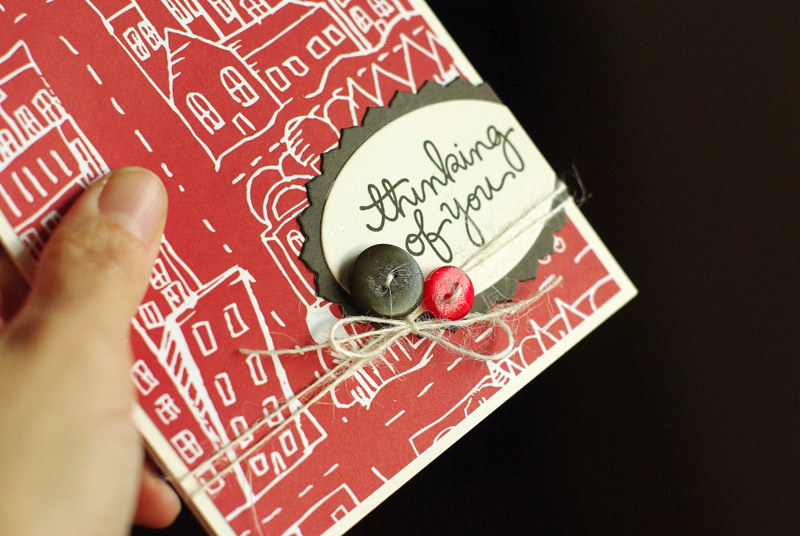
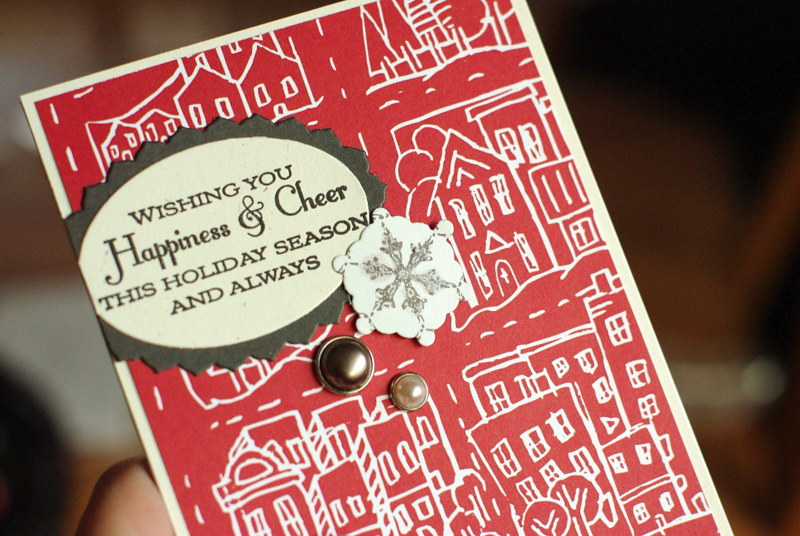
1. I trimmed a piece of Papertrey Ink cardstock (aqua mist) for my background and diecut a scalloped oval from it (using my LL:oval dies from PTI). I also diecut the middle of the patterned paper with the smooth oval and a couple more ovals from the PTI rustic white cardstock. I stamped my sentiment (PTI's Holiday Tags 2012), layered it all together and added some stitching. Then I added two My Mind's Eye decorative brads and a bow made with PTI twine.
For this week's MIM at Papertrey Ink: Detail Glitter Technique, I painted over my house image with some Smooch, as well as on the brads. It's a very subtle, but pretty effect.
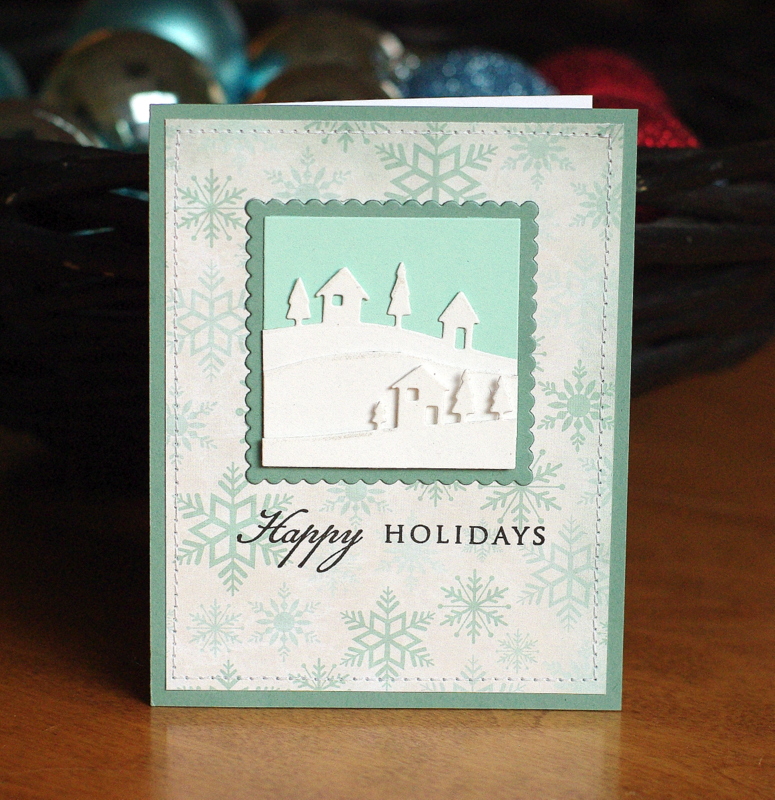
2. I covered a piece of PTI ocean tides cardstock with the snowflake portion of the patterned paper, trimmed to fit. I used my PTI LL:Squares dies along with my Memory Box die to create the focal point. The sentiment is from PTI's Wreath for all Seasons.
I added a bit a Smooch along the roof tops, snowbanks and trees, again For this week's MIM at Papertrey Ink: Detail Glitter Technique.
3. I used the leftover patterned paper strips and adhered them to some PTI ocean tides cardstock. I stitched them in place, stamped the sentiment from PTI's Think Big Favorites #9 and added a Snowflake Medley diecut from PTI felt, some PTI buttons and twine.
4. The flowers along the bottom of this portion of patterned paper were making it difficult for me to use for a Christmas card, so I decided to make a baptism card that a friend requested for his niece's baptism instead. Not having any baptism stamps, I decided to use my PTI Beautiful Blessings stamp set, along with some PTI dies (beautiful blooms II #2, heart border), buttons and twine. I also added a strip of WRMK washi tape.
5. And, once these other cards were made, I finally made the card that I pictured making in the first place....
I stamped an image from PTI's button boutique and added a little felt tree cut from PTI's Love Lives Here: Holiday dies & wrapped in MME baker's twine. I added some glitter to the star at the top for this week's MIM and a stamped sentiment from PTI's Love Lives Here: Holiday.
Well, I didn't get called into work today, so I'm hoping to get some Christmas baking done, as well as some more Christmas cards made.
Thanks for looking!
So, I bought the paper (among a few, ahem, other things), and when I got home, I trimmed out the journaling cards for my card front.... but for some reason, got inspired to make other cards with the rest of the sheet...and ended up making five cards in total.
So, today's five for Friday is the five cards I made with one sheet of We R Memory Keeper's patterned paper...
1. I trimmed a piece of Papertrey Ink cardstock (aqua mist) for my background and diecut a scalloped oval from it (using my LL:oval dies from PTI). I also diecut the middle of the patterned paper with the smooth oval and a couple more ovals from the PTI rustic white cardstock. I stamped my sentiment (PTI's Holiday Tags 2012), layered it all together and added some stitching. Then I added two My Mind's Eye decorative brads and a bow made with PTI twine.
For this week's MIM at Papertrey Ink: Detail Glitter Technique, I painted over my house image with some Smooch, as well as on the brads. It's a very subtle, but pretty effect.
2. I covered a piece of PTI ocean tides cardstock with the snowflake portion of the patterned paper, trimmed to fit. I used my PTI LL:Squares dies along with my Memory Box die to create the focal point. The sentiment is from PTI's Wreath for all Seasons.
I added a bit a Smooch along the roof tops, snowbanks and trees, again For this week's MIM at Papertrey Ink: Detail Glitter Technique.
3. I used the leftover patterned paper strips and adhered them to some PTI ocean tides cardstock. I stitched them in place, stamped the sentiment from PTI's Think Big Favorites #9 and added a Snowflake Medley diecut from PTI felt, some PTI buttons and twine.
4. The flowers along the bottom of this portion of patterned paper were making it difficult for me to use for a Christmas card, so I decided to make a baptism card that a friend requested for his niece's baptism instead. Not having any baptism stamps, I decided to use my PTI Beautiful Blessings stamp set, along with some PTI dies (beautiful blooms II #2, heart border), buttons and twine. I also added a strip of WRMK washi tape.
5. And, once these other cards were made, I finally made the card that I pictured making in the first place....
I stamped an image from PTI's button boutique and added a little felt tree cut from PTI's Love Lives Here: Holiday dies & wrapped in MME baker's twine. I added some glitter to the star at the top for this week's MIM and a stamped sentiment from PTI's Love Lives Here: Holiday.
Well, I didn't get called into work today, so I'm hoping to get some Christmas baking done, as well as some more Christmas cards made.
Thanks for looking!
Thursday, December 06, 2012
New patterned paper
My friend, Mandy, & I placed an online order a couple of weeks ago, and I couldn't resist tossing this sheet of patterned paper by Studio Calico into our cart. After hesitating only slightly (it's always hard cutting into a lovely sheet of patterned paper!), I cut it up and made two cards.
For my first card, I covered a piece of PTI vintage cream cardstock with the patterned paper and added some PTI diecuts (LL:ovals), buttons and twine. The sentiment is some a Simon Says Stamp stamps set.
I added some Smooch to my buttons to add a little bit of glitter for this week's MIM at Papertrey Ink: Detail Glitter Technique.
And my next card is quite similar, but I changed up the design slightly, the sentiment (this time using one from PTI's Holiday Lights stamp set) and the embellishments. The brads are My Mind's Eye and the snowflake was diecut from the back of this same patterned paper, using a PTI Snowflake Medley die.
For the MIM technique, I added some Smooch over the snowflake and then sprinkled it with some Martha Stewart Glitter while it was still wet.
Thanks for looking!
For my first card, I covered a piece of PTI vintage cream cardstock with the patterned paper and added some PTI diecuts (LL:ovals), buttons and twine. The sentiment is some a Simon Says Stamp stamps set.
I added some Smooch to my buttons to add a little bit of glitter for this week's MIM at Papertrey Ink: Detail Glitter Technique.
And my next card is quite similar, but I changed up the design slightly, the sentiment (this time using one from PTI's Holiday Lights stamp set) and the embellishments. The brads are My Mind's Eye and the snowflake was diecut from the back of this same patterned paper, using a PTI Snowflake Medley die.
For the MIM technique, I added some Smooch over the snowflake and then sprinkled it with some Martha Stewart Glitter while it was still wet.
Thanks for looking!
Wednesday, December 05, 2012
A few shots...
from the first week in December. These will be added to my December Daily album.
Having snack after school...
We took the kids to see Rise of the Guardians last night. The blond children are Jordan & Nick, who came along with us with their mom, Tania.
Today, I had the day off, so I ran errands, made some cards and mailed out my Christmas newsletters & family photos.
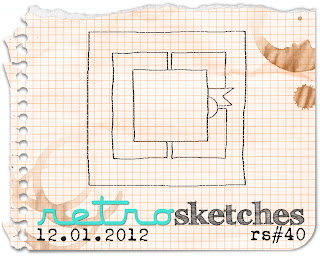
And, here are a couple of cards I made yesterday. This first card is for Retro Sketch #40. Here's the sketch:
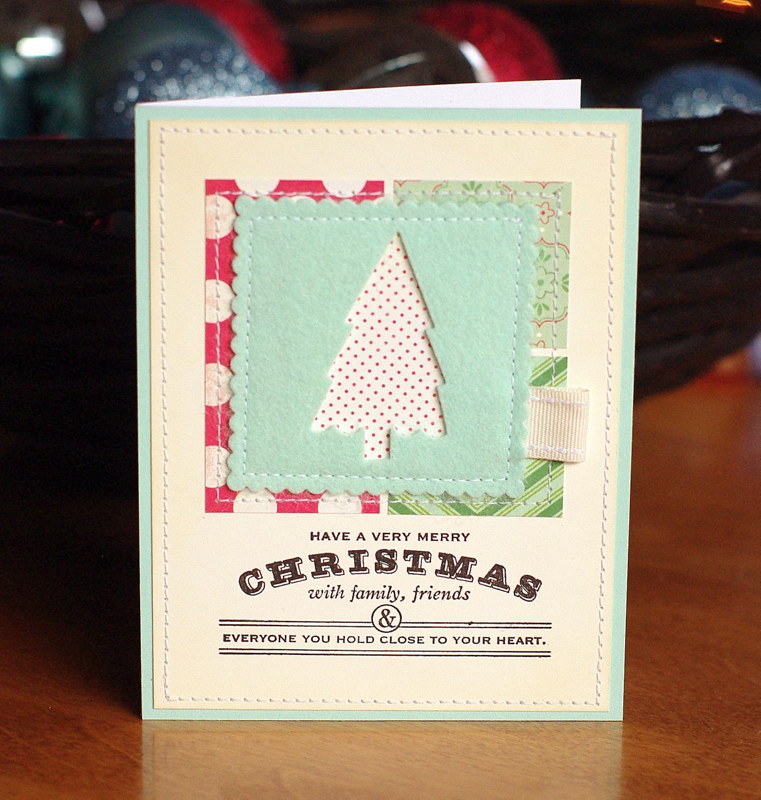
For my card, I used Papertrey Ink cardstock (aqua mist, vintage cream), stamp (Stylish Sentiments: Holiday), dies (Love Lives Here: Holiday, LL:Squares), felt and ribbon. I also used October Afternoon patterned paper. I die cut the tree from the felt and backed it with the patterned paper.
For my second card, I kept the design similar, but swapped out a Snowflake Medley die for the tree. I stamped a Snowflake Medley image with versamark on PTI vellum and heat embossed it, sprinkling on a little Martha Stewart glitter to add some sparkle for this week's MIM at Papertrey Ink: Detail Glitter Technique.
The patterned paper is Studio Calico. Here's a photo where you can see the stamped image a little more clearly:
Thanks for looking!
Labels:
cards,
December Daily 2012,
Papertrey Ink MIM,
photos
Tuesday, December 04, 2012
O Christmas trees
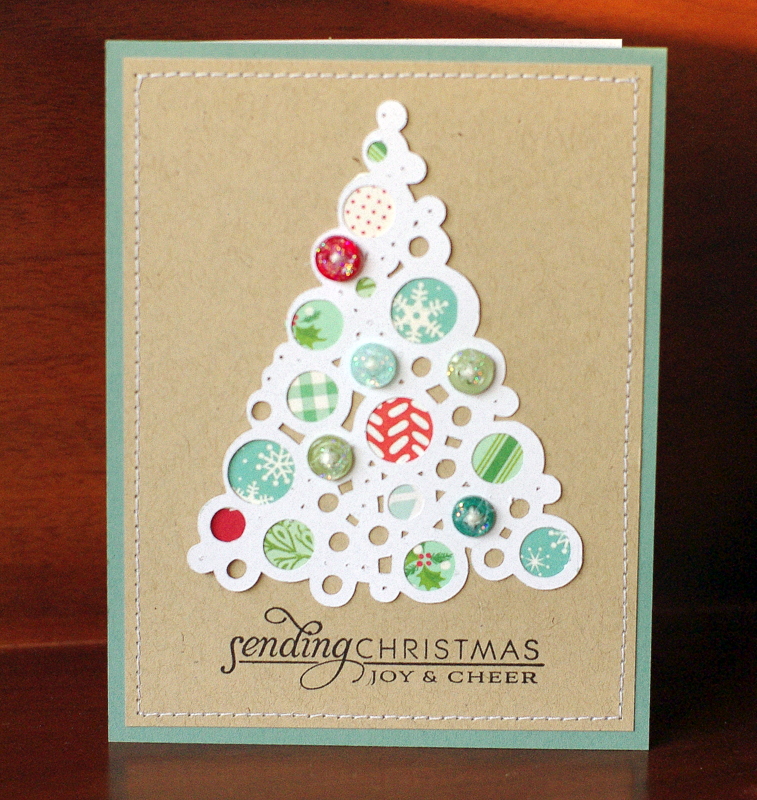
I wanted to share a couple of cards that I made using some Studio Calico cut files on my Silhouette Portrait. I also made them for this week's MIM at Papertrey Ink: Detail Glitter Technique.
For my first card, I cut my tree out of white cardstock and adhered it to my card, slipping some October Afternoon & Studio Calico patterned paper behind it. I used PTI cardstock (kraft, ocean tides) and stamps (stylish sentiments: holiday), buttons and twine. For the glitter, I added some SU! dazzling details to my buttons.
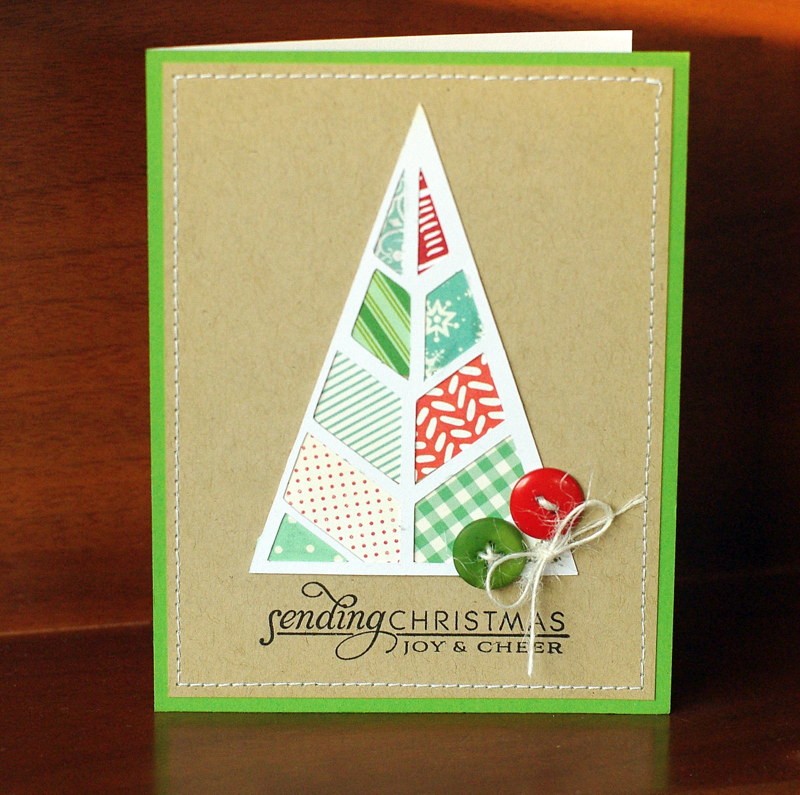
My next card is very similar, but with PTI new leaf cardstock and a different cut file. This time, for the glitter technique, I added some smooch to the blue patterned papers on the tree to add a little shimmer & shine.
Thanks for looking!
For my first card, I cut my tree out of white cardstock and adhered it to my card, slipping some October Afternoon & Studio Calico patterned paper behind it. I used PTI cardstock (kraft, ocean tides) and stamps (stylish sentiments: holiday), buttons and twine. For the glitter, I added some SU! dazzling details to my buttons.
My next card is very similar, but with PTI new leaf cardstock and a different cut file. This time, for the glitter technique, I added some smooch to the blue patterned papers on the tree to add a little shimmer & shine.
Thanks for looking!
Monday, December 03, 2012
Peace * Love * Joy
Just popping in today to post another Christmas card that I made this weekend...
I used Bazzill cardstock (medium grey) and October Afternoon patterned paper. I also used Papertrey Ink cardstock (rustic white), stamps (nativity silhouette, stylish sentiments: holiday), dies (limitless layers: ovals 3.5"), buttons and twine.
Thanks for looking!
Sunday, December 02, 2012
One more...
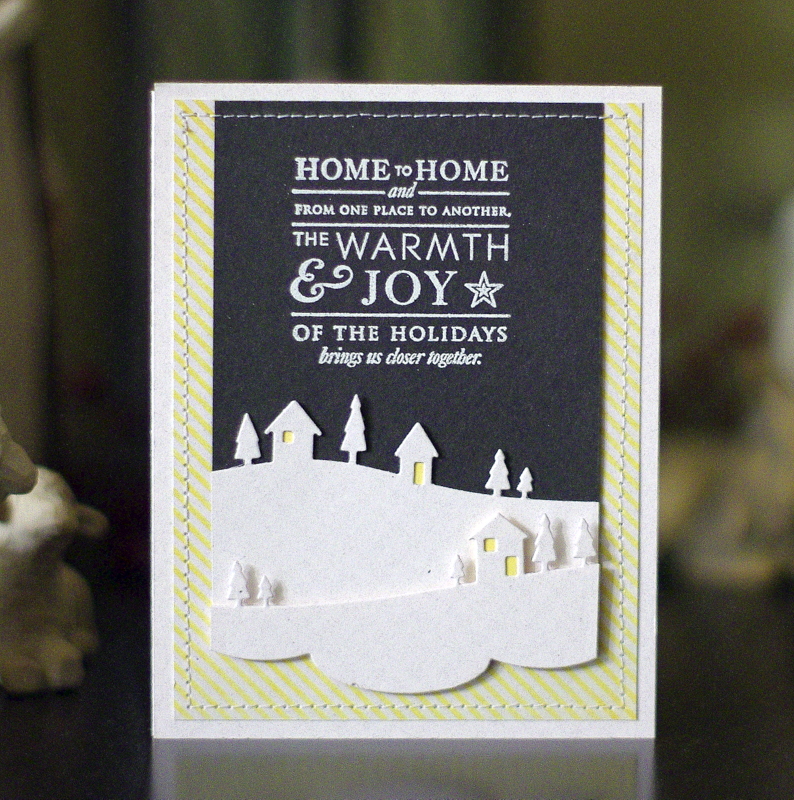
I just wanted to share one last card that I made this evening, again using a trimmed down Edger's #3 diecut for this week's Make it Monday at Papertrey Ink: splitting diecuts.
I used Papertrey Ink cardstock (rustic white, smokey shadow, harvest gold) & stamps (stylish sentiments: holiday). The patterned paper is My Mind's Eye and the die is Memory Box.
Thanks for looking!
I used Papertrey Ink cardstock (rustic white, smokey shadow, harvest gold) & stamps (stylish sentiments: holiday). The patterned paper is My Mind's Eye and the die is Memory Box.
Thanks for looking!
A productive weekend
Well, I've have a fairly productive weekend. On Saturday, I went out for coffee with my friend, Val, and then we did a little shopping. I found a sweater for me, and got a Christmas present for my mom (I'd actually already finished my shopping for my mom, but I liked this better than the scarf I'd bought her, so I'm going to return that.)
In the afternoon, Sage & I decorated the living room and dining room for Christmas. Here are a few photos:
At three, I went to a crocheting class at our local quilting store (they had demos all day long, but it was the class for making a ruffled scarf that interested me the most!) I was the only one there who didn't have grey hair! LOL! But the women were all so nice and knowledgeable and the instructor was super sweet and patient with me. The atmosphere was just so lovely and looking at all of the gorgeous quilts made me wish I could quit my job and craft full time. ;)
In the evening, Cameron & I attended our Christmas banquet. He got an award for ten years of service and we had fun visiting with friends.
This morning, I wasn't needed in Sunday School, so I came home early from church and set up our tree and lights (yes, we are probably the only people left who don't have a pre-lit tree!) Then, after the kids got home and ate lunch, Sage & I decorated it. (She just gets better & better at it each year!)
AND, I managed to get a nice photo of the kids in front of it. Score!
Then, once that was all tidied up, I went down to my craft area, where I got four Christmas cards made. They're all for this week's Make it Monday at Papertrey Ink: Splitting diecuts.
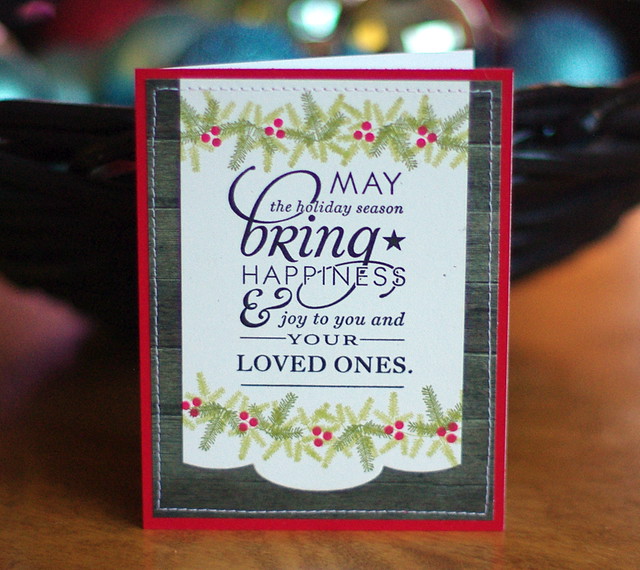
For all of my cards, I used Papertrey Ink cardstock (rustic white, true black, pure poppy, scarlet jewel and stamps (stylish sentiments: holiday) and dies (edgers #3). It's the edgers #3 that I trimmed down on each side for the MIM technique.
For my first card, I layered my diecut on some My Mind's Eye patterned paper and stamped on it with Love Lives Here: Holiday. I added some stitching as a finishing touch.
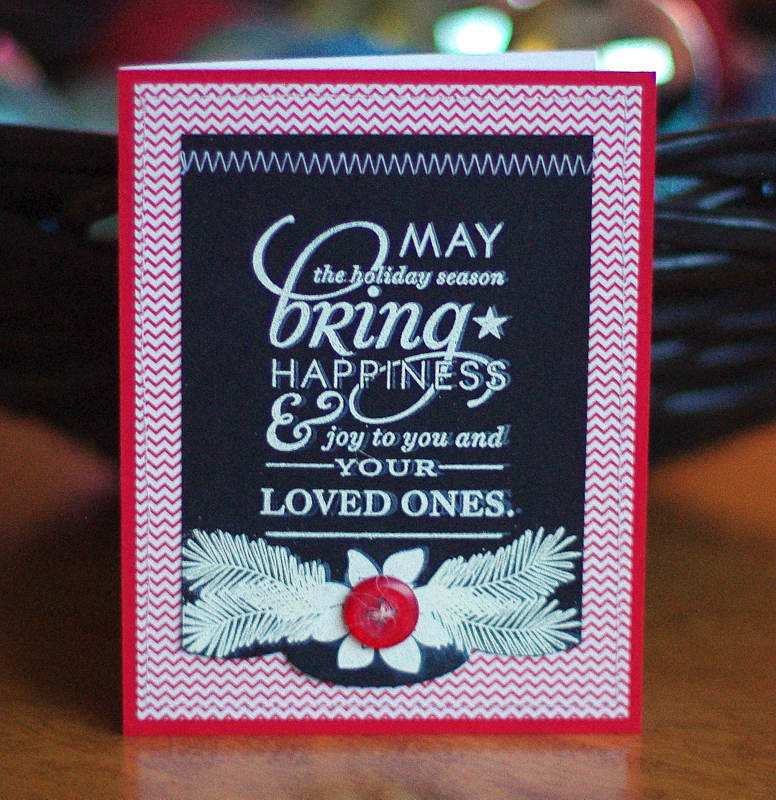
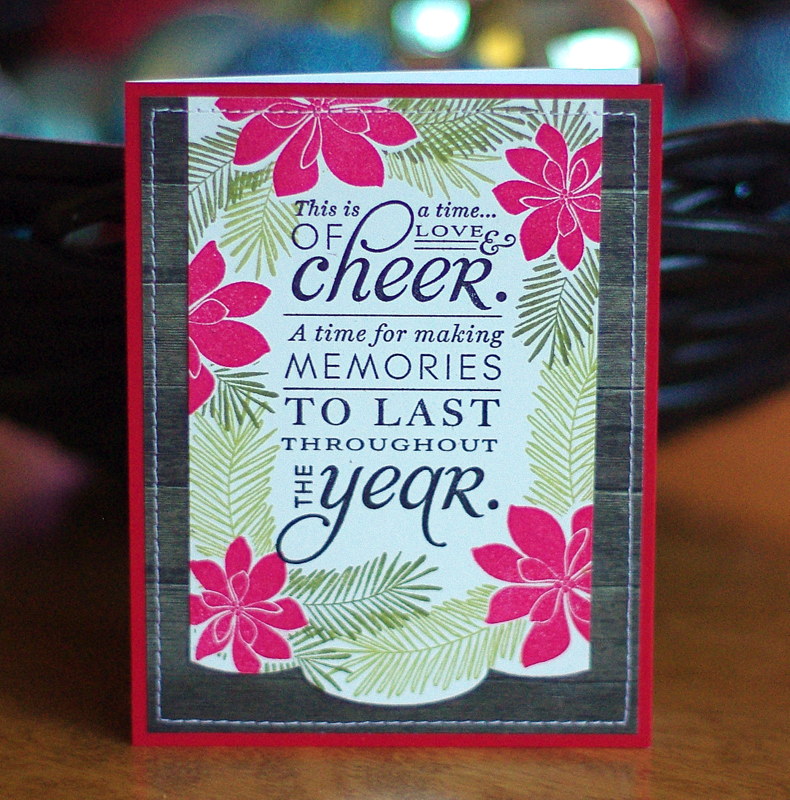
Looking at these sentiments on the two previous cards mad me think that they would work really well with Betsy Veldman's Chalkboard Art meets Stamping technique, so I decided to try it out.
For this card, I layered the trimmed down diecut over a piece of My Mind's Eye patterned paper. The star is from Stylish Sentiments: Holiday and the flourishes are from PTI's Fancy Flourishes.
Did you get a lot done this weekend?
Thanks for looking!
Saturday, December 01, 2012
PWP Challenge #16
Wow, I can't believe it's already December 1st! Are you ready for the holidays?
Today, I want to post this month's challenge for Pages with Papertrey: combine different elements for your title. You can mix dies with stamps with stickers... whatever you'd like, as long as two of them are different.
Here's my layout, where I combined some Lily Bee stickers (I love these tiny stickers!) with my PTI Alpha-blocks stamps:
I used PTI cardstock (rustic white), twine, buttons, stamps (alpha-blocks, shutterbug special) and dies (alpha-blocks, shutterbug special, tag sale #3). The patterned paper is all Echo Park-- I saw it at the store and thought it would pair perfectly with my Shutterbug Special stamps!
Here's a close-up of the first part of my journaling, where I split the Tag Sale #3 diecut, for this week's Make it Monday at Papertrey Ink: Splitting diecuts:
And of the large camera...
... where you can pull the tab to reveal:
If you create a layout for this month's challenge, please leave a comment here with the link or here on the PTI forum, because I'd love to see what you make!
Thanks for looking!
Today, I want to post this month's challenge for Pages with Papertrey: combine different elements for your title. You can mix dies with stamps with stickers... whatever you'd like, as long as two of them are different.
Here's my layout, where I combined some Lily Bee stickers (I love these tiny stickers!) with my PTI Alpha-blocks stamps:
I used PTI cardstock (rustic white), twine, buttons, stamps (alpha-blocks, shutterbug special) and dies (alpha-blocks, shutterbug special, tag sale #3). The patterned paper is all Echo Park-- I saw it at the store and thought it would pair perfectly with my Shutterbug Special stamps!
Here's a close-up of the first part of my journaling, where I split the Tag Sale #3 diecut, for this week's Make it Monday at Papertrey Ink: Splitting diecuts:
And of the large camera...
... where you can pull the tab to reveal:
If you create a layout for this month's challenge, please leave a comment here with the link or here on the PTI forum, because I'd love to see what you make!
Thanks for looking!
Subscribe to:
Posts (Atom)